Tridion sites 9 PCA is getting popular more and more every day, and today in this blog, we will be creating an app using Apollo Client to communicate with SDL Tridion GraphQL API. We will integrate Apollo Client with ReactJS, but you can use it with several other client platforms as well.
with this, you will have the default app up and running on port number 3000, This is initiating a new basic React project in the newly created project folder react-graphql. By using the npm start to command the live-reloading development web server is started and the output of the default React project can be accessed in the browser:
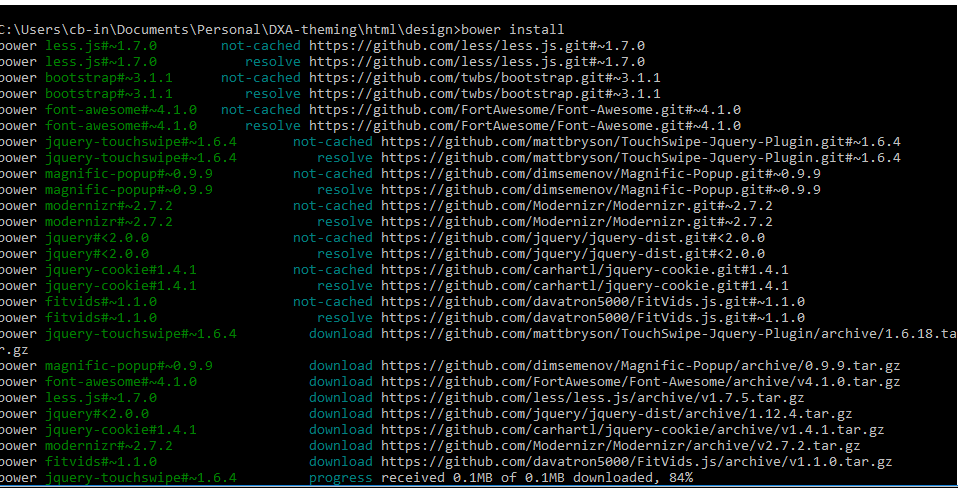
In order to work with GraphQL, we have to install Dependencies. The next step is to install the needed dependencies.
As you can see I've imported react-apollo in order to work with GraphQL. In today's demo, we will see how to get the Dynamic Component Presentation and reder the same in React based webapp. To start this I've created a new schema with Title and Description as content fields and used the default DXA standard Metadata Schema as well.
Based on this new schema I've created 3 new components and published them using Dynamic CT. They are now available via PCA.
Next, is call PCA using Apollo Client and ReactJS and render the DCPs.
Here is the query to get all the DCPs to render them on the News and Article Landing page.
Based on the query criteria we are getting 3 DCPs which is correct
Next, Display the Data
Let's write some JSX to display the fetched data. I'm fetching/rendering the data from both Metadata and Content fields, just to test the feasibility/flexibility and syntax.
And Finally, our News and Article Landing page with DCPs is ready, not the very attractive UI though 😊
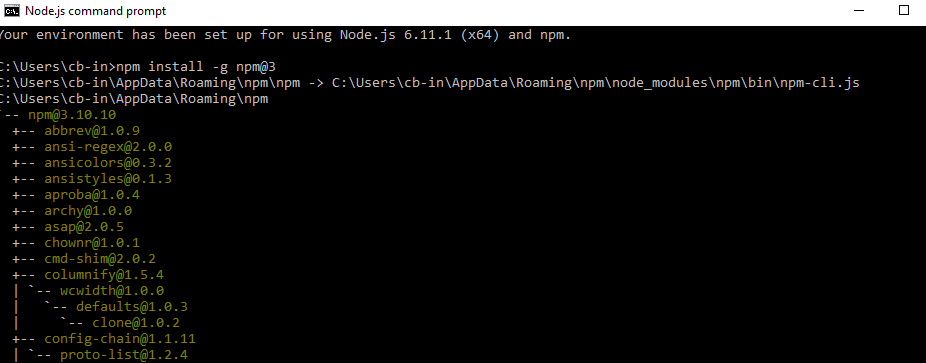
Setting Up The Project
To get started we first need to set up a new React project. The easiest way to do so is to use create-react-app. This script creates a new React project.
 npm install -g create-react-app react-graphql
 cd react-graphql
 npm start
with this, you will have the default app up and running on port number 3000, This is initiating a new basic React project in the newly created project folder react-graphql. By using the npm start to command the live-reloading development web server is started and the output of the default React project can be accessed in the browser:
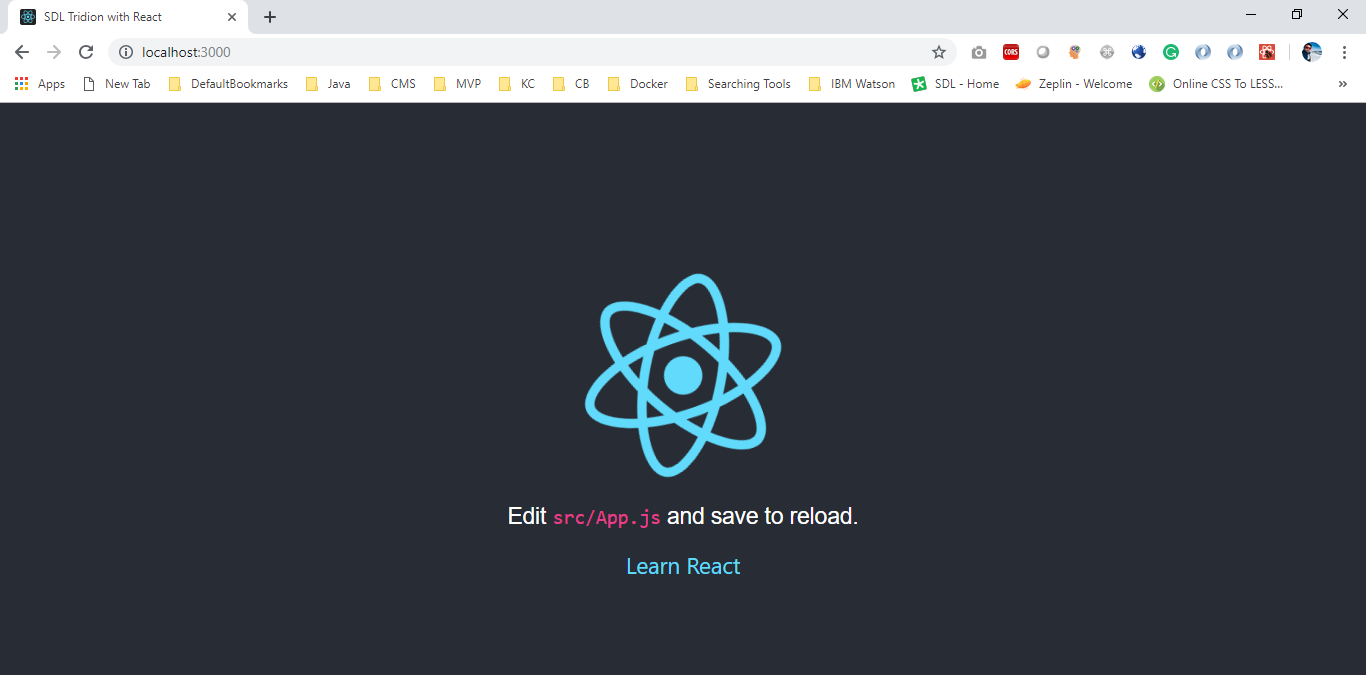 |
| Default ReactJS |
- apollo-boost: Package containing everything you need to set up Apollo Client
- react-apollo: View layer integration for React
- graphql-tag: Necessary for parsing your GraphQL queries
- graphql: Also parses your GraphQL queries
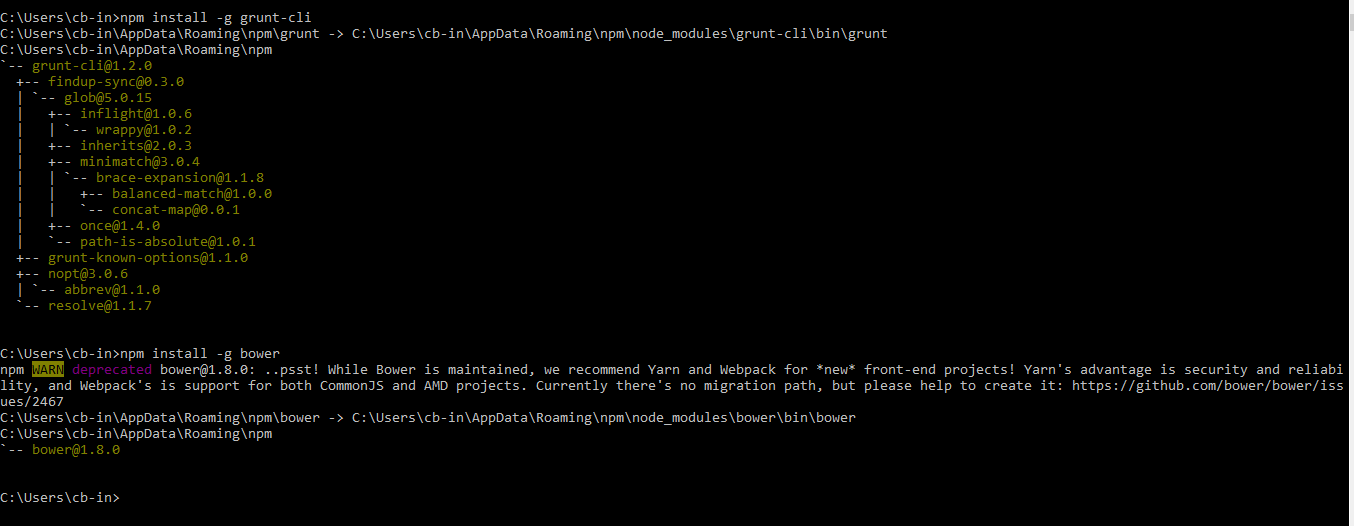
The installation of these dependencies can be done by using the following NPM command
$ npm install apollo-boost react-apollo graphql-tag graphql
 |
| Project Structure |
Based on this new schema I've created 3 new components and published them using Dynamic CT. They are now available via PCA.
 |
| 3 DCPs for Demo Purpose |
 |
| DCPs via GraphiQL |
Next, is call PCA using Apollo Client and ReactJS and render the DCPs.
Here is the query to get all the DCPs to render them on the News and Article Landing page.
 const repoQuery = gql`
  query
 {
  componentPresentations(namespaceId: 1, publicationId: 11, filter: {schema: {id: 789}}) {
   edges {
    cursor
    node {
     itemType
     rawContent {
      data
     }
    }
   }
  }
 }
 `
Based on the query criteria we are getting 3 DCPs which is correct
 |
| PCA output |
Next, Display the Data
Let's write some JSX to display the fetched data. I'm fetching/rendering the data from both Metadata and Content fields, just to test the feasibility/flexibility and syntax.
 class News extends Component {
  render() {
   console.log(this.props)
   return (
    <div>
     <h2>News and Articles Landing Page</h2>
     {
      this.props.data.loading === true ? "Loading" :
       this.props.data.componentPresentations.edges.map
       (
        data =>
       <ul key={data.node.rawContent.data.Id}>
       <li style={{fontWeight: 'bold'}}>
         <a href={"newsdetails?ids="+data.node.rawContent.data.Id +
          "&name="+data.node.rawContent.data.Content.title.replace(/[^a-zA-Z0-9]/g, '-')}>
          {data.node.rawContent.data.Content.title}
         </a>
       </li>
       <p>
        {
         data.node.rawContent.data.Metadata.metadata.description
        }
        </p>
      </ul>
       )
     }
    </div>
   );
  }
 }
And Finally, our News and Article Landing page with DCPs is ready, not the very attractive UI though 😊
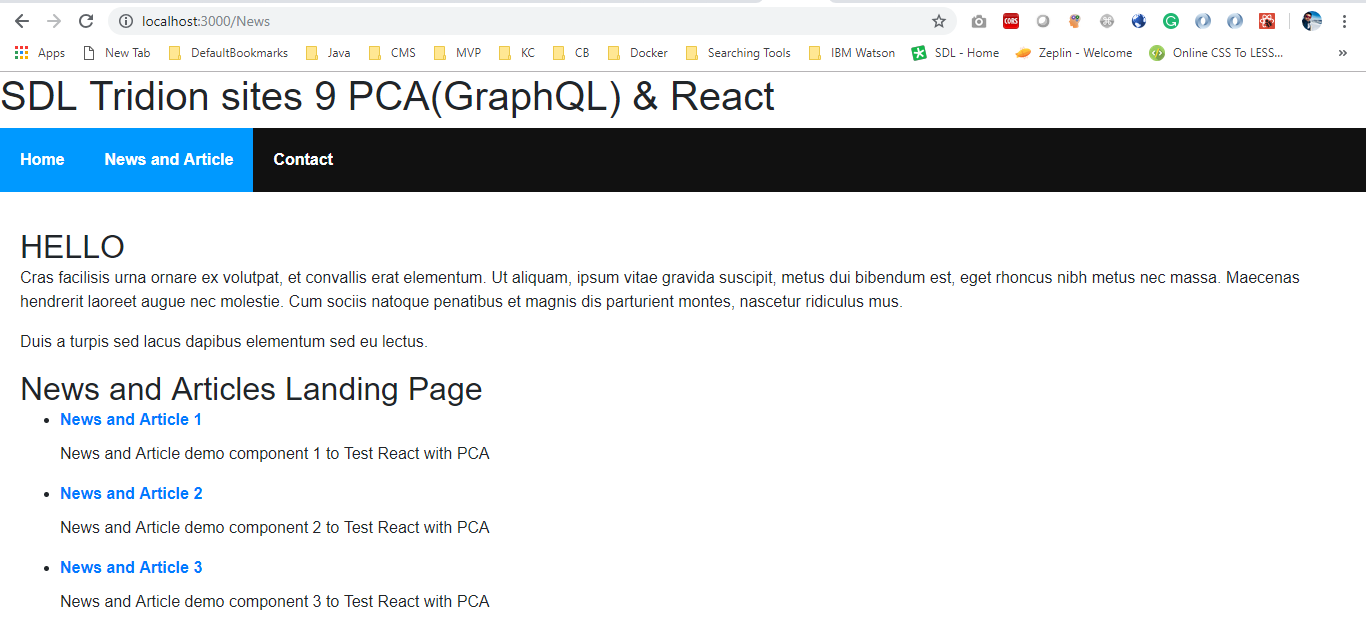 |
| DCPs Rendering on ReactJS app |
In the next blog, we will be creating News details page and will try to implement search and other features as well.
You can download the sample application from GitHub, don't forget to update the PCA URL
Happy Coding and Keep Sharing !!!!