In my previous blog, we have launched the default HTML-Design which come up the DXA framework.Today we are going to make some changes in the design, will see how we can create the update HTML-Design package and finally CMS level changes and then publish those changes.
Modifying the design
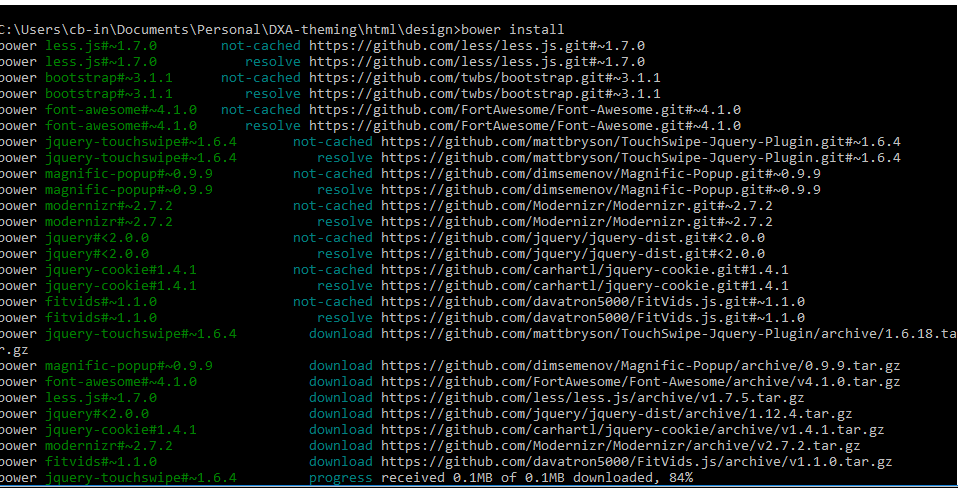
As we know DXA framework build using Bootstrap, we can customize it by changing the standard Bootstrap variables in .\system\assets\less\_variables.less, and then rebuild with Grunt.
Let's make some changes. what I did is I have changed the default language selector Dropdown into Dropdown with filter functionality by modifying the design by changing the contents of the .\src\ folder.
Next step is to create the package for updated HTML-Design and for that we need to run the following command:
grunt package
The html-design-{yyyy-mm-dd}.zip file in the .\zip\ folder is created. You can upload this .ZIP file in the CMS and republish the HTML design.
Now, we need to update the raw assets for that we need to make changes in HTML design component and to access that navigate Building Blocks/Modules/Core/Admin Folder.Upload the latest and updated HTML-Design.zip there save and close the component and now we need to publish the Publish HTML Design page.
So, we finally updated the HTML-Design, created the package and upload in the CMS. Similarly we can change the branding of our site like change font, background color etc. to this we need to modify the HTML Design Configuration component navigate to the Building Blocks/Settings/Core/Site Manager/ Folder and here we can configure the HTML Design, Build Files, Version Number, Favicon, Bootstrap Configuration this will need to be done for each microsite that you want to style following the locale.
Happy coding and keep sharing
Modifying the design
As we know DXA framework build using Bootstrap, we can customize it by changing the standard Bootstrap variables in .\system\assets\less\_variables.less, and then rebuild with Grunt.
Let's make some changes. what I did is I have changed the default language selector Dropdown into Dropdown with filter functionality by modifying the design by changing the contents of the .\src\ folder.
 |
| Modified HTML |
grunt package
 |
| Create package |
The html-design-{yyyy-mm-dd}.zip file in the .\zip\ folder is created. You can upload this .ZIP file in the CMS and republish the HTML design.
 |
| Package |
So, we finally updated the HTML-Design, created the package and upload in the CMS. Similarly we can change the branding of our site like change font, background color etc. to this we need to modify the HTML Design Configuration component navigate to the Building Blocks/Settings/Core/Site Manager/ Folder and here we can configure the HTML Design, Build Files, Version Number, Favicon, Bootstrap Configuration this will need to be done for each microsite that you want to style following the locale.
 |
| HTML Design Configuration |
Happy coding and keep sharing