Friday 30 March 2018

SDL Tridion India Dev Summit 2018

The fourth year in a row, Yes SDL Tridion India community has organized fourth SDL Tridion India Summit on 23rd and 24th March 2018.

People from the different regions joined in this event and shared their knowledge, experiences with others.

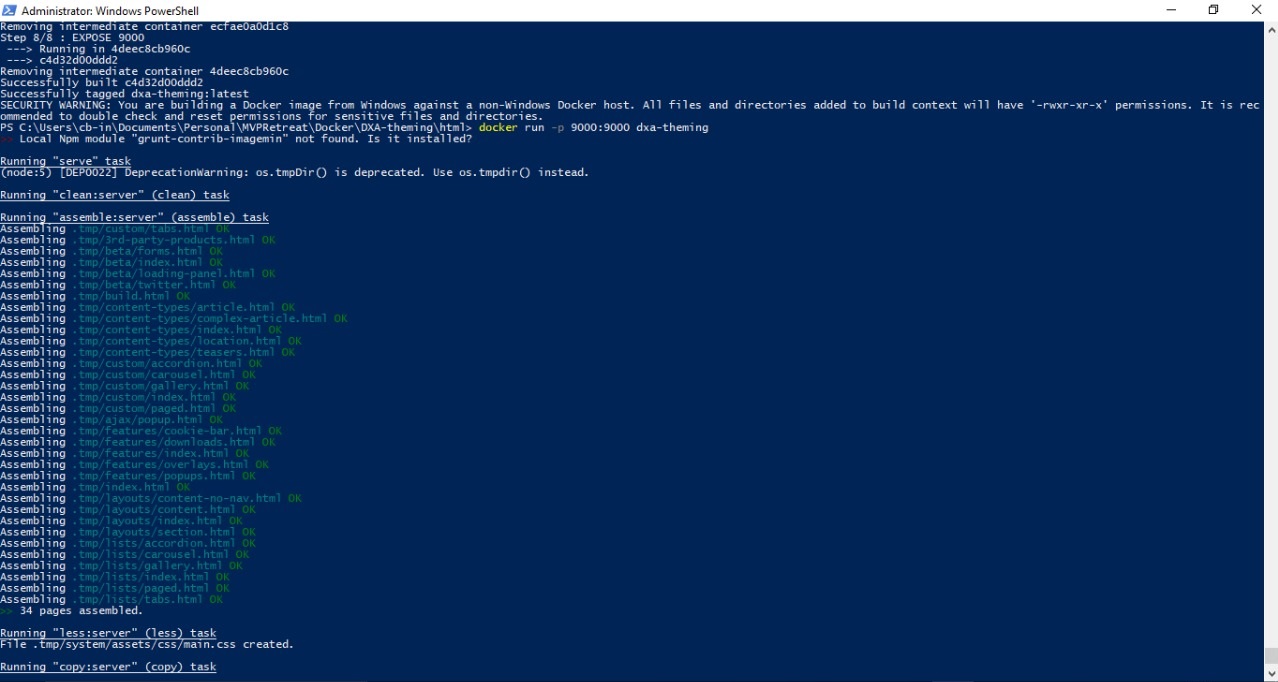
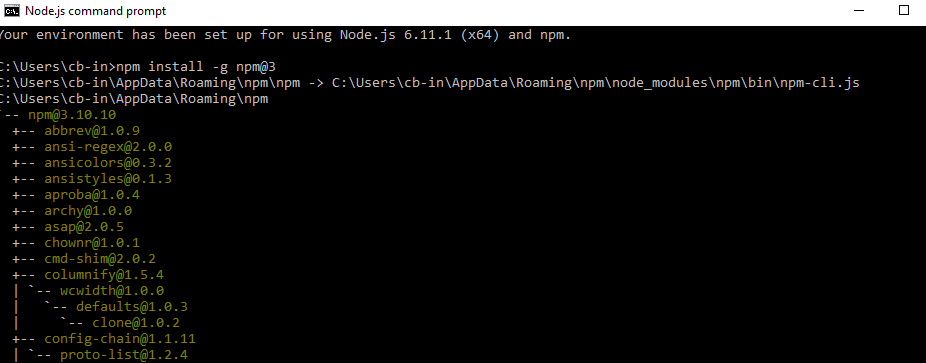
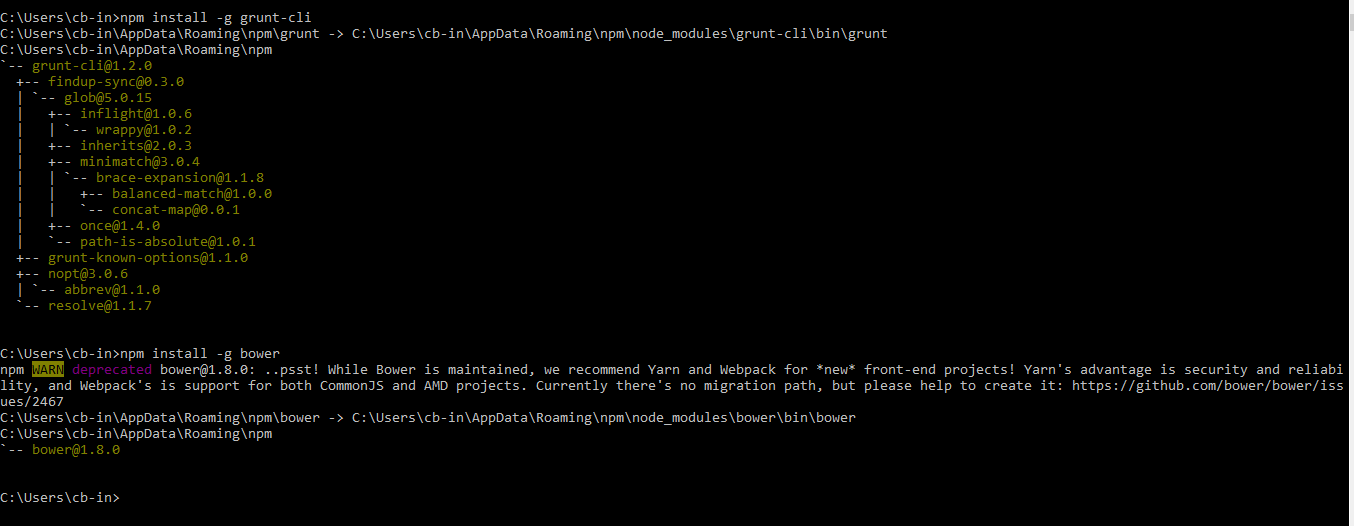
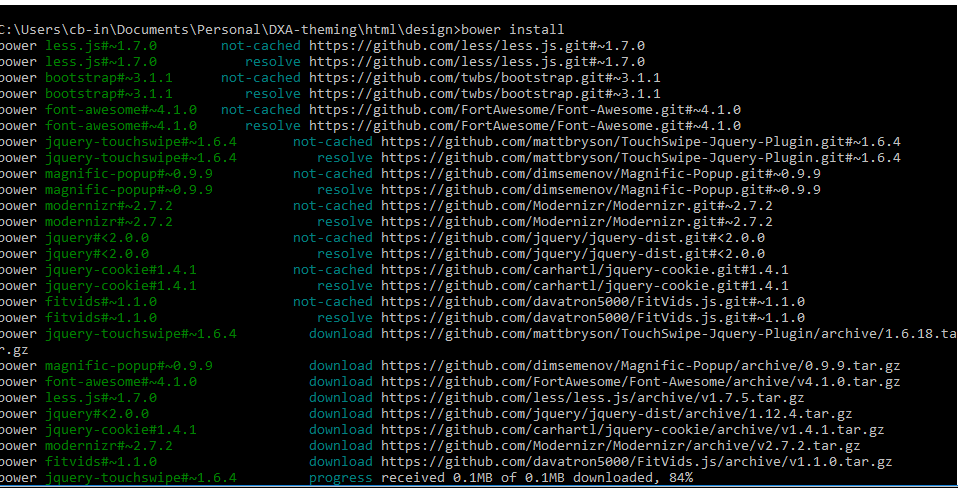
I also got the opportunity to participate in this event as a speaker and share my experience and process on MVP selection process. I also took this opportunity to share my knowledge with other and presented How we can use Docker to host DXA application. Learn more

What is SDL Tridion MVP Award

  • Each year SDL Tridion Most Valuable Professional Awards recognize individuals with a passion for sharing their knowledge and expertise.
  • You can share your Knowledge by writing Blog Post create videos or help other community members on Tridion StackExchange.
  • You can become a most valued professional (MVP) by sharing your passion, knowledge.
  • Upload your videos about SDL Tridion.
  • Passion is more important.

Process

  • The nomination is open in December. To nominate you can send your details should include your blog post, videos URL, and TREX profile at  sdl.tridion.mvp@sdl.com
  • The selection panel will evaluate each nominee's voluntary contribution to the community over the past 12 months.
  • In the end, the MVP team is summarizing the results.
  • The MVP Award is usually announced at the Mid of February.

Some useful links related to SDL Tridion MVP Program

Like, As I mentioned I took this opportunity and shared my knowledge about how to run the  SDL DXA  in the Docker container.


Highlights of this year SDL Tridion India Dev Summit 


Welcome

Day 1, The first session was about Tridion 9 Roadmap


Kurt introduced Tridion Docs 


Followed by Alvin (Go To Market), Pankaj (Upgrade Strategies), and Venu (UDP and Content Mashups)


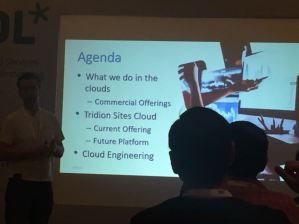
 Day 2, Nuno started the first session of Day 2 and giving insights about SDL Cloud features


Followed By
  • Rajesh Kumar from SDL shared thoughts on pre-sales demo.
  • Kurt started a demo on Tridion Docs
  • Sayantan from SDL explained the connectors
  • Priyank from Content Bloom gave a live demo of how to use Core Service PowerShell module.
  • Raj Kumar from Sapient demonstrated various Tridion caching techniques  
  • Pankaj presented his second session on UDP

It was a great experience meeting all of you at SDL Tridion India Dev Summit, Hope to see you again next year.

Saturday 17 March 2018

RUN SDL DXA inside Windows Docker Container

In one of my previous blog post, we learned, How to run SDL DXA theming inside Docker. Today we are going to run SDL DXA in Window Docker. It is really quick and easy. To learn more about my previous blog post click here.

Steps to setup you SDL DXA-WEBAPP in Docker

  1. Download DXA latest version from SDL GITHUB account.
  2. Create a folder at any location, this path will be used as a physical location when you run the web-install.ps1.
  3. Go to the Root directory and create Dockerfile.
  4. Here, it is very important to understand that what all you need to have in your DockerFile. I faced couple of issues while I was working on this but managed to solve all of them.
  5. Once your SDL DXA is installed copy and paste below sample Dockerfile content in your file.
  6.  FROM microsoft/aspnet  
     RUN New-Item c:\sdldxaindocker -type directory  
     WORKDIR /sdldxaindocker  
     COPY ./DXADOCKER/ .  
     RUN Remove-WebSite -Name 'Default Web Site'   
     RUN New-Website -Name 'DXADOCKER' -Port 80 -PhysicalPath 'c:\sdldxaindocker'  -ApplicationPool '.NET v4.5'  
    
  7. Open PowerShell in Admin mode and navigate to root directory created in step 2.
  8. Run the following Docker commands.
    • docker build -t sdldxaindocker .     (refer ScreenShot 1)
    • docker run -d --name sdldxaindockerimage sdldxaindocker  (refer Screenshot 2)
    • docker inspect -f  "{{ NetworkSettings.Networks.nat.IPAddress }}" sdldxaindockerimage  (refer ScreenShot 3)
  9. Last step set-TtmWebsite and update the -BaseUrls
Advantages of using Docker.
  1. You can connect your source code with docker and with this it will keep your code in-sync/updated with your Docker container and solve your CI problems.
  2. You can run this container on any platform.
  3. Automate your build and test pipelines and accelerate your software development.
  4. Minimum Infrastructure.
  5. Load-Balancing can be managed easily.
  6. Improve Efficiency of DevOps.
  7. Easy Distribution, share, and configuration of applications.
  8. Easy and real-time scaling of application 

The output of your Docker commands.

ScreenShot 1
ScreenShot 2
Screenshot 3

Browse the URL http://172.24.179.102/


Happy coding and keep sharing !!!!

Monday 15 January 2018

Monitor Performance of CM and CD servers using ElasticSearch, Kibana and Beats

Monitoring Server performance is a really important activity. This will help us to provide the uninterrupted, smooth and better end-user experience it will also help in forecasting the horizontal or vertical scaling server. Today we are going the see how we can use open source services called Beats, ElasticSearch and Kibana to monitor the performance of our servers. Before we move further let's talk about all these services.

  1. Beats:- Beats is the lightweight data shipper and send the data from multiple machines to Logstash or ElasticSearch. They all are lightweight services which collect the data from your servers and index them in ElasticSearch and with the help of Kibana we can represent that data in the pictorial view. Types of beats and how to install and configure 
  2. ElasticSearch: ElasticSearch is a search engine based on Lucene. This comes with extensible API supporting C#, JAVA, CURL, PHP etc. Learn more about Elasticsearch and how to install and configure Elasticsearch.
  3. Kibana:- Kibana is a visualization application that gets its data from Elasticsearch. It provides a customizable and user-friendly UI in which you can combine various widget types to create your own dashboards. The dashboards can be easily saved, shared, and linked. We can also add the charts embedded HTML in your web-application. 
Beats setup consists of:
Once you are doing with installation and configuration of all the pre-requisites now let see how its look when beats push the data into ElasticSearch and Kibana use that data for visualization.Make sure you have all the Beats service, ElasticSearch, and Kibana up and running.

Beats services provide many data points based on different activities is performed on the server.

Let's see some of them in detail.
  1. Beats services up and running
  2. CPU, Memory utilization
     
  3. HTTP monitoring of  Web URLs, Here I have configured the Staging and Live DXA site, you can configure CMS or CD Microservice URLs or any other web URLs.
  4. Windows logs
  5. Disk Utilization
Happy coding and keep sharing !!!

Saturday 25 November 2017

Storage Extension Using ElasticSearch and Docker


The latest release of the ElasticSearch4Web8 framework is much more clean, easy in use, less configuration and setup steps are required.To know more about the previous release refer this link.

In the previous version of this framework, apart from CMS and Deployer setup steps, we were required to host custom WCF based Index service, install and configure ElasticSearch. In this release, I've moved all these on Docker.

So, now instead of downloading code host the Index service and ElasticSearch all we need to do is Docker Pull and you will have all the pre-requisites up and running.

Steps to setup latest version of this framework:-
  1. CMS setup
    • Copy and paste the templating building block (TBB) to a location on your SDL WEB 8 CM Server
    • Upload ESI4TIndexing.Templating.dll TBB to WEB 8 CMS using TcmUploadAssembly.exe
    • Create a Component Template with following attributes
      • Output Format – XML Fragment
      • Add GetComponentAsXML TBB ,Publish Binaries in Package, Link Resolver and Cleanup Template.
  2. To setup Elasticsearch run following docker commands.
    • docker pull hemkant/elasticsearch .
    • docker run -p 9200:9200 -m3gb hemkant/elasticsearch
  3. To setup generic, WCF IndexService run following docker commands.
    • docker pull hemkant/elasticsearchintegration4web8 .
    • docker run -p 83:83 hemkant/elasticsearchintegration4web8
  4. To verify all the docker containers are up and running run docker ps command
  5. All these containers are available on hub.docker.com
  6. The last step is setup Deployer service
    • Open the cd_storage_config.xml Storage Configuration file from the /bin/config folder and add following node under the Storages section:
      • <StorageBindings><Bundle src="CustomStorageDAOBundles.xml"/></StorageBindings>
    • Copy and paste CustomStorageConfig.xml file to change the value of following nodes
      • ServiceEndPoint - URL of the IndexService
      • TemplateIdToIndex - Tcm Id Of component Template which we have created in step 1 CMS setup. 
    • Copy the CustomStorageDAOBundles.xml XML file in the Content Delivery /bin/config folder

That's all we need. We have configured the ElasticSearch integration with SDL WEB  now publish the components and data will be stored in ElasticSearch.


Happy coding and keep sharing !!!

Friday 20 October 2017

How to dockerize SDL DXA theming module

Docker keeps our code and its dependencies together and lets us more fully utilize our Infrastructure resources.

Today we are going to create a Docker image which contains SDL DXA-theming module before we begin we need to install Docker download the Docker windows installer and run, once installation is finished Docker will start automatically, you can check the whale icon in the notification area. I am running on Docker windows container.

Docker version

We are done with the installation. Now let's talks about 

Docker:- Docker is a tool that is designed to benefit both developers and system administrators, making it a part of many DevOps.

For developers, it means that they can focus on writing code without worrying about the system that it will ultimately be running on.

In a way, Docker is a bit like a virtual machine. But unlike a virtual machine, rather than creating a whole virtual operating system.

It is a tool designed to make it easier to create, deploy, and run applications by using containers. Containers allow a developer to package up an application with all of the parts it needs, such as libraries and other dependencies, and ship it all out as one package. 

SDL DXA-Theming module:- It is used to manage HTML-design create microsites with very minimum efforts.DXA is build using responsive design HTML5 and Bootstrap.It gives us the flexibility to change the design as per requirement.To know more about the DXA-theming please refer my previous blogs here.

Let's begin with creating our first Docker Image.


I already have DXA 1.7 available on my local machine you can download from official SDL GitHub account. Every application requires a specific working environment: pre-installed applications, dependencies, databases, everything in a specific version. Docker containers allow you to create such environments.

As a first step, we need to create DockerFile.

The Docker container is launched on the basis of a Docker image, a template with the application details. The Docker image is created with instructions written in the Dockerfile. Let's add Dockerfile to the directory with our application:

DockerFile


Line 1: Use another Docker image for the template of my image. We shall use the official Node.js image with Node v8.

Line 2: Set working dir in the container to /.design. We shall use this directory to store files, run npm, and launch our application:

Line 3-5: Copy application to /.design directory and install dependencies. If you add the package.json first and run npm install later, Docker won't have to install the dependencies again if you change the package.json file. This results from the way the Docker image is being built (layers and cache).

Line 6: This line describes what should be executed when the Docker image is launching.

Line 7: Expose port 9000 to the outside once the container has launched:

Build Docker Image


Docker comes with pre-defined sets of commands which we can run using powerShell (should be running in Admin mode).Run the docker build command, set the name of our image with -t parameter, and choose the directory with the Dockerfile.

docker build -t hemkant/dxa-theming .

Build Docker Image

Run the Docker Image

The DXA-Theming module has been saved as an image now we need to run the docker run command. Image name should be in lower case.

docker run -p 9000:9000 hemkant/dxa-theming
Run Docker Image

The application is ready to browse using http://localhost:9000 running in docker.

Browse-WhiteLabel HTML Design

Sharing Docker Image

Sharing is carrying. Docker images can be hosted and shared. The most popular are Docker Hub, a GitHub among Docker registries, in which you can host private and public images. Let's push an image to Docker Hub now:

  1. Sign-up at hub.docker.com.
  2. Run the following two commands
  3. docker build -t hemkant/dxa-theming
  4. docker push hemkant/dxa-theming
Upload image on docker hub.

Docker hub

Once your image is uploaded it's now available to re-use without any hassle by installing the Docker and run the below command easy and cool. You don't have to install Node, bower, NPM, and Grunt on your local machine to run DXA-theming module because everything is already shipped into Docker.

docker run hemkant/dxa-theming


Happy coding and keep sharing!!.

Tuesday 15 August 2017

How to customize DXA theme - Step 2 Edit HTML,update CMS and create HTML-design package

In my previous blog, we have launched the default HTML-Design which come up the DXA framework.Today we are going to make some changes in the design, will see how we can create the update HTML-Design package and finally CMS level changes and then publish those changes.

Modifying the design
As we know DXA framework build using Bootstrap, we can customize it by changing the standard Bootstrap variables in .\system\assets\less\_variables.less, and then rebuild with Grunt.

Let's make some changes. what I did is I have changed the default language selector Dropdown into Dropdown with filter functionality by modifying the design by changing the contents of the .\src\ folder.

Modified HTML

Next step is to create the package for updated HTML-Design and for that we need to run the following command:

grunt package

Create package

The html-design-{yyyy-mm-dd}.zip file in the .\zip\ folder is created. You can upload this .ZIP file in the CMS and republish the HTML design.

Package
Now, we need to update the raw assets for that we need to make changes in HTML design component and to access that navigate Building Blocks/Modules/Core/Admin Folder.Upload the latest and updated HTML-Design.zip there save and close the component and now we need to publish the Publish HTML Design page.

So, we finally updated the HTML-Design, created the package and upload in the CMS. Similarly we can change the branding of our site like change font, background color etc. to this we need to modify the HTML Design Configuration component navigate to the Building Blocks/Settings/Core/Site Manager/ Folder and here we can configure the HTML Design, Build Files, Version Number, Favicon, Bootstrap Configuration this will need to be done for each microsite that you want to style following the locale.

HTML Design Configuration 


Happy coding and keep sharing

Monday 14 August 2017

How to customize DXA theme - Step 1 Launch default HTML design

DXA is build using responsive design HTML5 and Bootstrap.It gives us the flexibility to change the design as per requirement.

Let's start with spinning the already existing HTML-design but before that, we need to install prerequisites.

  1. Install Node.js
  2. Instsll npm,grunt and bower.
    • npm install -g npm@3
    • npm install -g grunt-cli
    • npm install -g bower.
Install npm

Install Gurnt-cli
Install Bower


Once you have done with installations run below command to check node and npm version.

I already have the latest version of Node.js and npm install on my machine.Now let's build the assets we need to copy the content of .\html\desgin from the installation media to any location and run the 
  1. npm install
  2. brower install 
  3. grunt build
What this will do, this will build all the assets and can found in the ./dist folder.

Let's run the site locally and for that we need to run grunt command.
grunt serve

Grunt serve
A web server will be started at http://localhost:9000.

Whitelabel HTML Design
For next step on how to edit HTML, create HTML-Design package and update CMS.

Happy coding and keep sharing!!!