Friday 20 October 2017

How to dockerize SDL DXA theming module

Docker keeps our code and its dependencies together and lets us more fully utilize our Infrastructure resources.

Today we are going to create a Docker image which contains SDL DXA-theming module before we begin we need to install Docker download the Docker windows installer and run, once installation is finished Docker will start automatically, you can check the whale icon in the notification area. I am running on Docker windows container.

Docker version

We are done with the installation. Now let's talks about 

Docker:- Docker is a tool that is designed to benefit both developers and system administrators, making it a part of many DevOps.

For developers, it means that they can focus on writing code without worrying about the system that it will ultimately be running on.

In a way, Docker is a bit like a virtual machine. But unlike a virtual machine, rather than creating a whole virtual operating system.

It is a tool designed to make it easier to create, deploy, and run applications by using containers. Containers allow a developer to package up an application with all of the parts it needs, such as libraries and other dependencies, and ship it all out as one package. 

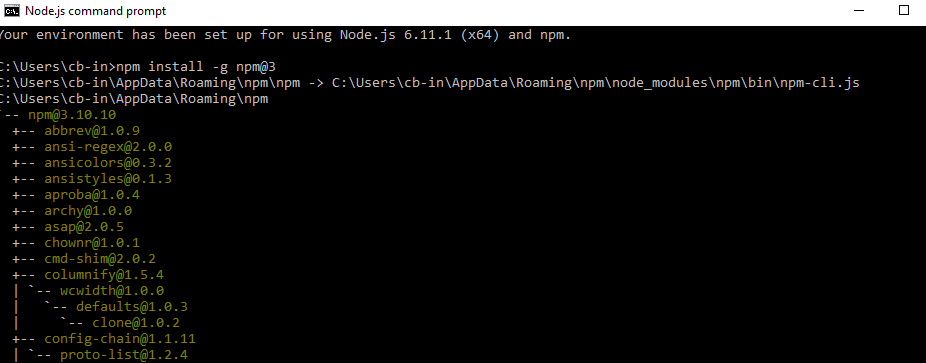
SDL DXA-Theming module:- It is used to manage HTML-design create microsites with very minimum efforts.DXA is build using responsive design HTML5 and Bootstrap.It gives us the flexibility to change the design as per requirement.To know more about the DXA-theming please refer my previous blogs here.

Let's begin with creating our first Docker Image.


I already have DXA 1.7 available on my local machine you can download from official SDL GitHub account. Every application requires a specific working environment: pre-installed applications, dependencies, databases, everything in a specific version. Docker containers allow you to create such environments.

As a first step, we need to create DockerFile.

The Docker container is launched on the basis of a Docker image, a template with the application details. The Docker image is created with instructions written in the Dockerfile. Let's add Dockerfile to the directory with our application:

DockerFile


Line 1: Use another Docker image for the template of my image. We shall use the official Node.js image with Node v8.

Line 2: Set working dir in the container to /.design. We shall use this directory to store files, run npm, and launch our application:

Line 3-5: Copy application to /.design directory and install dependencies. If you add the package.json first and run npm install later, Docker won't have to install the dependencies again if you change the package.json file. This results from the way the Docker image is being built (layers and cache).

Line 6: This line describes what should be executed when the Docker image is launching.

Line 7: Expose port 9000 to the outside once the container has launched:

Build Docker Image


Docker comes with pre-defined sets of commands which we can run using powerShell (should be running in Admin mode).Run the docker build command, set the name of our image with -t parameter, and choose the directory with the Dockerfile.

docker build -t hemkant/dxa-theming .

Build Docker Image

Run the Docker Image

The DXA-Theming module has been saved as an image now we need to run the docker run command. Image name should be in lower case.

docker run -p 9000:9000 hemkant/dxa-theming
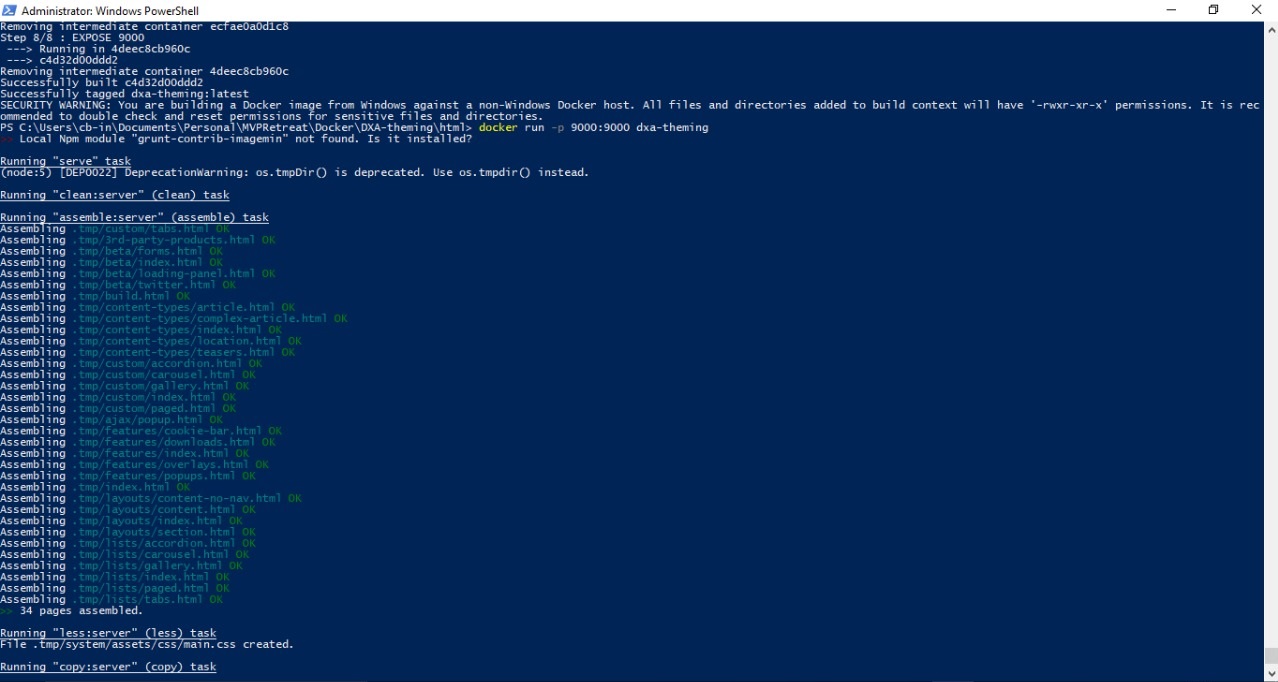
Run Docker Image

The application is ready to browse using http://localhost:9000 running in docker.

Browse-WhiteLabel HTML Design

Sharing Docker Image

Sharing is carrying. Docker images can be hosted and shared. The most popular are Docker Hub, a GitHub among Docker registries, in which you can host private and public images. Let's push an image to Docker Hub now:

  1. Sign-up at hub.docker.com.
  2. Run the following two commands
  3. docker build -t hemkant/dxa-theming
  4. docker push hemkant/dxa-theming
Upload image on docker hub.

Docker hub

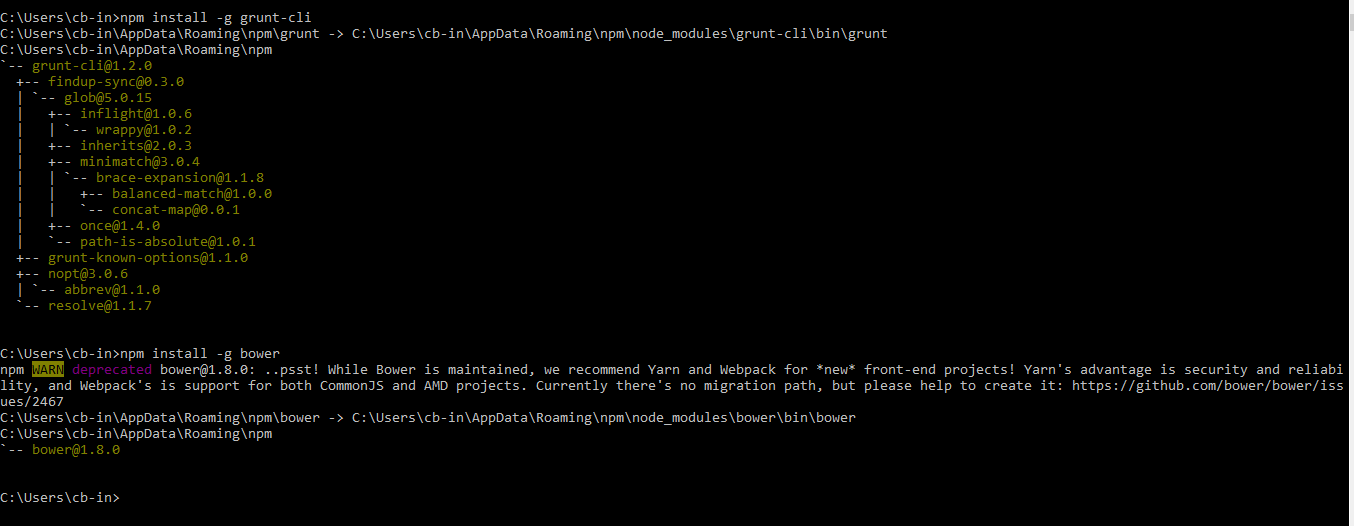
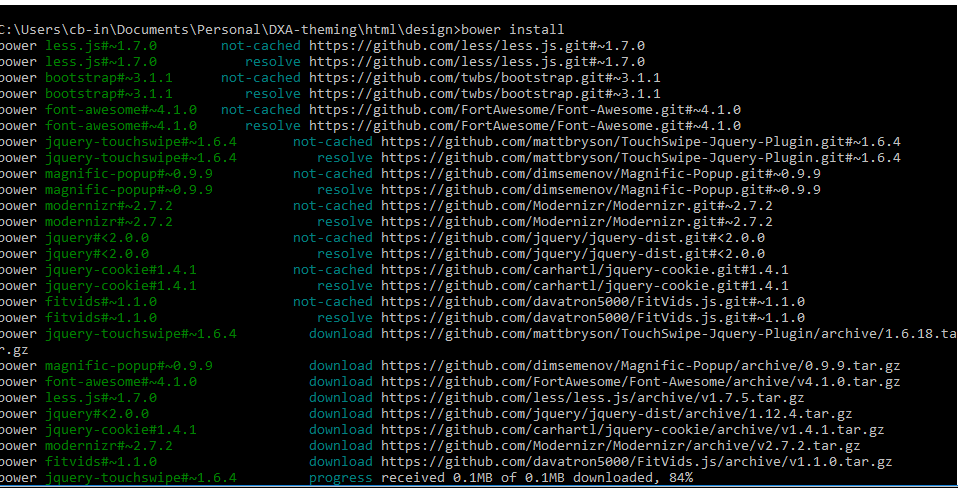
Once your image is uploaded it's now available to re-use without any hassle by installing the Docker and run the below command easy and cool. You don't have to install Node, bower, NPM, and Grunt on your local machine to run DXA-theming module because everything is already shipped into Docker.

docker run hemkant/dxa-theming


Happy coding and keep sharing!!.

Tuesday 15 August 2017

How to customize DXA theme - Step 2 Edit HTML,update CMS and create HTML-design package

In my previous blog, we have launched the default HTML-Design which come up the DXA framework.Today we are going to make some changes in the design, will see how we can create the update HTML-Design package and finally CMS level changes and then publish those changes.

Modifying the design
As we know DXA framework build using Bootstrap, we can customize it by changing the standard Bootstrap variables in .\system\assets\less\_variables.less, and then rebuild with Grunt.

Let's make some changes. what I did is I have changed the default language selector Dropdown into Dropdown with filter functionality by modifying the design by changing the contents of the .\src\ folder.

Modified HTML

Next step is to create the package for updated HTML-Design and for that we need to run the following command:

grunt package

Create package

The html-design-{yyyy-mm-dd}.zip file in the .\zip\ folder is created. You can upload this .ZIP file in the CMS and republish the HTML design.

Package
Now, we need to update the raw assets for that we need to make changes in HTML design component and to access that navigate Building Blocks/Modules/Core/Admin Folder.Upload the latest and updated HTML-Design.zip there save and close the component and now we need to publish the Publish HTML Design page.

So, we finally updated the HTML-Design, created the package and upload in the CMS. Similarly we can change the branding of our site like change font, background color etc. to this we need to modify the HTML Design Configuration component navigate to the Building Blocks/Settings/Core/Site Manager/ Folder and here we can configure the HTML Design, Build Files, Version Number, Favicon, Bootstrap Configuration this will need to be done for each microsite that you want to style following the locale.

HTML Design Configuration 


Happy coding and keep sharing

Monday 14 August 2017

How to customize DXA theme - Step 1 Launch default HTML design

DXA is build using responsive design HTML5 and Bootstrap.It gives us the flexibility to change the design as per requirement.

Let's start with spinning the already existing HTML-design but before that, we need to install prerequisites.

  1. Install Node.js
  2. Instsll npm,grunt and bower.
    • npm install -g npm@3
    • npm install -g grunt-cli
    • npm install -g bower.
Install npm

Install Gurnt-cli
Install Bower


Once you have done with installations run below command to check node and npm version.

I already have the latest version of Node.js and npm install on my machine.Now let's build the assets we need to copy the content of .\html\desgin from the installation media to any location and run the 
  1. npm install
  2. brower install 
  3. grunt build
What this will do, this will build all the assets and can found in the ./dist folder.

Let's run the site locally and for that we need to run grunt command.
grunt serve

Grunt serve
A web server will be started at http://localhost:9000.

Whitelabel HTML Design
For next step on how to edit HTML, create HTML-Design package and update CMS.

Happy coding and keep sharing!!!                                                                                       


Monday 29 May 2017

Universal WorkList Alchemy Plugin for SDL WEB

Centralized way of Managing all the tasks Universal Work List is used to manage ,respond to ,assign daily task or delegate tasks to peers.With the help of this plugin you will able to manage all our task and communication from CMS.

Features of this plugin

  1. Create Task and assign to peers.
  2. Update Task status and put your comments.
  3. Re-assign task you any user.
  4. Assign any task to yourself.
  5. Dashboard.
  6. Powered by SOLR 6.5
Let's go through the each screens one by one and understand how its works and its functionality. 


Landing page where you will see all the task assign to you and you can filter them as well to render data I have used JSgrid which gives all the feature such as pagination,sorting etc.
Landing page
 Here, I will have all the task assign to me rendering and I can create the task ,by clicking on the uniqueKey it will take user to Task update page, where user can update comments and status
Update Task
Here user can update comments ,update task status,Re-assign to other user . All the data is stored in SOLR. 

Next ,is how to create a task.In the create task panel you have 
  1. Task assign to field.
  2. Watcher or you can say second look.
  3. Priority is defined.
  4. Environment 
  5. Issue description.   
    Create Task
Happy Coding and keep Sharing !!!

Monday 22 May 2017

Alchemy Chat Plugin For SDL WEB

This plugin is used to communicate with all CMS user as in group or one to one chat.I have used JQuery,WEB API and SOLR to store all the chat data.
By default it will load top 100 messages based on datetime in your chat window for both group and one to one chat,with the help of this plugin we can easily communicate with all CMS users without any problem,most of the time we face this problem when our client or editors are only accessible via emails not on chat.

To use this plugin we need to install SOLR
  1. Download SOLR here .I have used SOLR version 6.5
  2. Create core in SOLR
  3. Update managed-Schema.xml and add following fields.
  4. Re-Start :- solr start -p <portNumber>
  5. Chat Plugin will load all the CMS users using coreservice.
  6. In the group window your message will be visible to all CMS users.
  7. In One2One only the participates. 

<field name="id" type="string" indexed="true" stored="true" required="true" multiValued="false" />
<field name="Message" type="text_general" indexed="true" stored="true" required="false" multiValued="false" />
<field name="MessageId" type="string" indexed="true" stored="true" required="false" multiValued="false" />
<field name="User" type="text_general" indexed="true" stored="true" required="false" multiValued="false" />
<field name="TimeStamp" type="string" indexed="true" stored="true" required="false" multiValued="false" />
<field name="isPrivateChat" type="string" indexed="true" stored="true" required="false" multiValued="false" />
<field name="chatWith" type="string" indexed="true" stored="true" required="false" multiValued="false" />
<field name="privateChatID" type="string" indexed="true" stored="true" required="false" multiValued="true" />

Once all this is done install the plugin and start chatting with all the CMS users,or you can chat with any user one to one.
Install chat Plugin
Group chat with all CMS users.
Group chat data index in SOLR
One to one chat with CMS user.
One to One Chat
One to one chat data in SOLR

Happy Coding and keep sharing !!!!

Friday 5 May 2017

Alchemy Plugin for WEB8 Dashboard

This is in continuation of my previous post where we build Alchemy plugin to download and search CMS items.I have further enhanced that one and added new feature as CMS level dashboard where we have multiple data points options and multiple chart options to represent the data in pictorial form.

Let's see the new addition in this Plugin DASHBOARD.
Dashboards often provide at-a-glance views.A data dashboard is an information management tool that visually tracks, analyzes and displays key performance using pictorial representation of the data , with the help of this dashboard we can identity the usage of different CMS items based on date using charts.

Here,We have 3 filters.
Dashboard
Let's  run this and see how its looks like with all the charts and information which represent .Let's generate charts based on All the components created month wise using all three charts.
1.Bar and Column Chart.
Bar and Column chart
 2.All three charts representing the number of content created month wise in pictorial form we can have same information available year wise as well.
All three charts.
3.Similar to components right we can generate information for pages for month and year wise.
4. Schema utilization number of components created using any particular schema
Schema utilization
With the help of all these information when can do CMS DB forecasting, CMS clean-up activity,Content growth.I have used Core Service,JQuery and Google visualization API to create dashboard.

Let's see the enhancement in the existing report Plugin.

  1. Download button to export the search data in .csv format.
  2. <a> link to open any item in the CMS to verify or cross check.
  3. You can open any Item in same or new window.
  4. Improved UI
  5. JQuery searching to filter data
Anchor tag with UI improvement

Download and Data searching .
Happy coding and keep sharing !!!!

Monday 1 May 2017

Alchemy plugin to download report from SDL WEB8


We all have came a across from a situation where we need to deploy/port CMS items from one environment to another for that we have Content porter but we need to manually identity(list of items which got created or modified after a certain date) items which we need to migrate.We used Bundle Schema to clubbed all the items at one location but that is again what if we missed any item and as a result content porting might failed due to some or the other dependency.

Here, is an Alchemy plugin which will allow you to download report from CMS based on date.I have used coreService,jQuery to build this plugin and a .ASPX page which is for popup.

This plugin will help you in migration as well where you need to identify items from across CMS.


Steps 
1.    Download the Developer pack from visual studio gallery Link.
2.    Alchemy version that I have used can be downloaded from Alchemy4Tridion link.
3.    Create a project selecting "Starter Plugin Project" template change the project name .
4.    Build the project and navigate to the generated .a4t file.
5.    Drag and drop the file in alchemy window.

Alchemy Plugin Installed.
Let go to CME,
Plugin is installed and ready for use
Let run the plugin and get some records form CM Database.
Custom Popup to Download data

Using Jquery Table searching you can filter the records as well. It will look for the text in all the columns.With the help of Jquery searching you can filter data based on date as well.
Search


You,can download the sample code from here

Happy coding and keep sharing !!!!